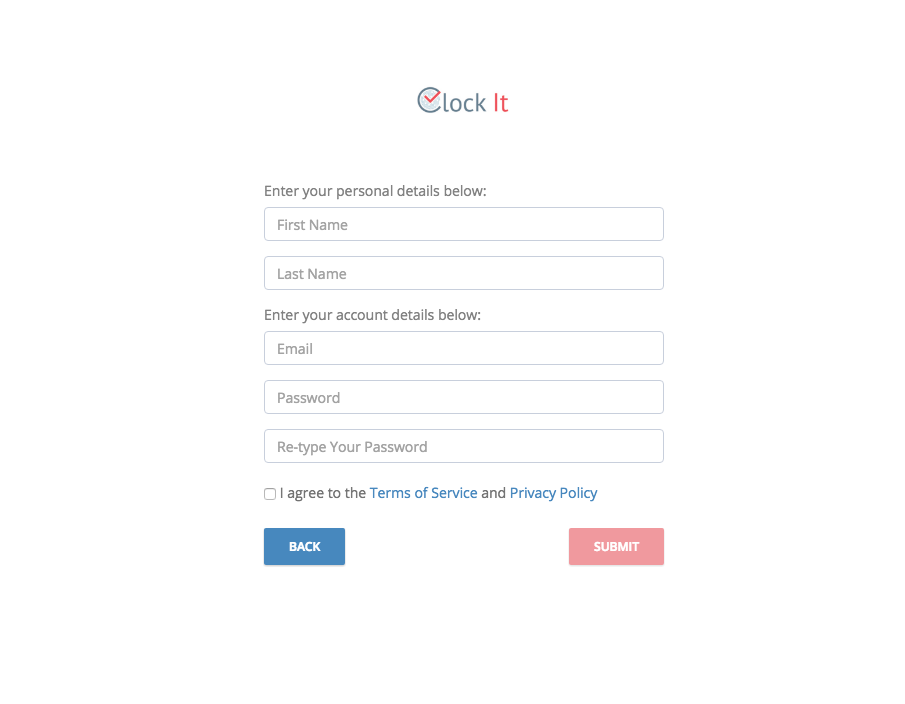
Fill up the basic details, agree to the Terms of Service and Privacy Policy and click submit.
ClockIt will send you a verification email to your email address given during the signup process. Click on the activation button from your email to and then sign in into ClockIt.
On successful sign in you will be taken to a page where you will need to setup your company name, address and contact details. We use this data for any reports that may be generated.
Once you setup your company data you will need to create a site. A site nothing but a business location, a shop or a location. Employees must belong to a site and each site can have one or more time templates (employee schedules.) For example a site can be Dubai Office, London Office, UK Office etc.
After creating your site you will be asked to create at least one time template (employee schedule). A site can have multiple time templates. For Example, if your company has lets say different timings for house keeping and other employees you can create several time templates under one site. However in this step you will be required to create one time template to proceed to the next step. Use the sliders and the on screen arrow keys to fine tune your time template.
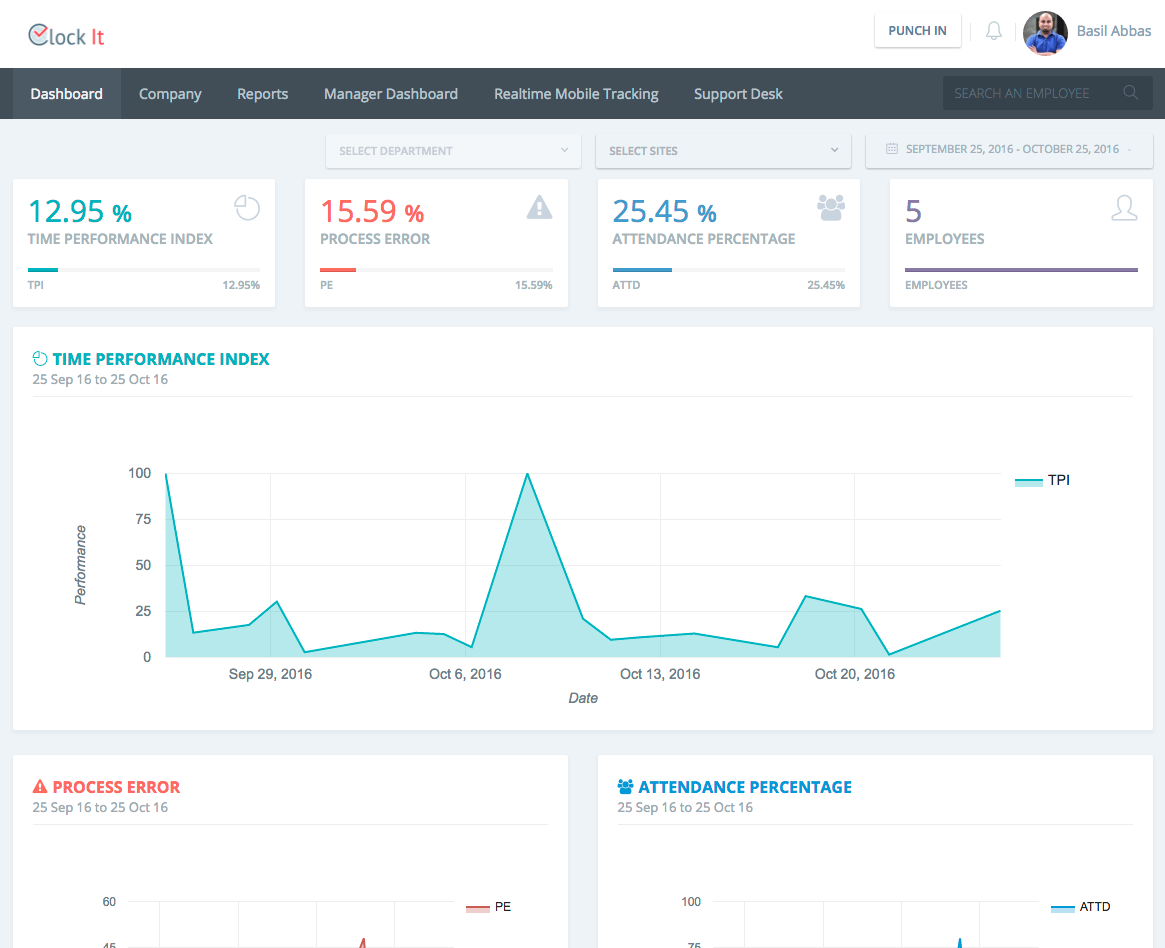
After setting up the above two steps ClockIt will take you directly to the dashboard of your account and should look like the screen below. Note you may have an empty dashboard.