ClockIt allows you to create routes that can be assigned to employee. Employee can have access to these routes via the mobile application on both our iOS and Android Apps.
Routes are specific to the site and each site may have as many routes as you wish.
To create a route for your employees, follow these steps.
- Goto Company > Manage Routes.
- Select the site where you want to create the route.
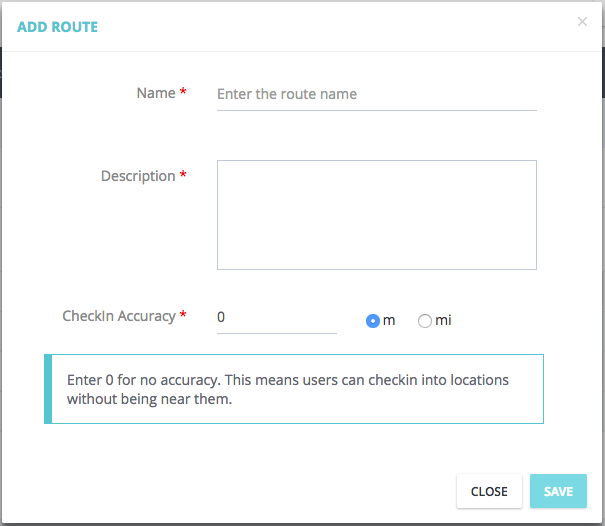
- Click on Add New to create a route.

- Enter the name for your route.
- A description to identify your route.
- Checkin accuracy is used so that employee cannot checkin into a location specified in that route unless they are within the radius defined. This can be created in meters or miles. Note that entering 0 will allow them to checkin from any where into the location specified.
- Save your route.
- Once your route is created you can click on the newly created route to add locations.
- ClockIt will ask for your browser location to centre the map based on where you are logging in from.
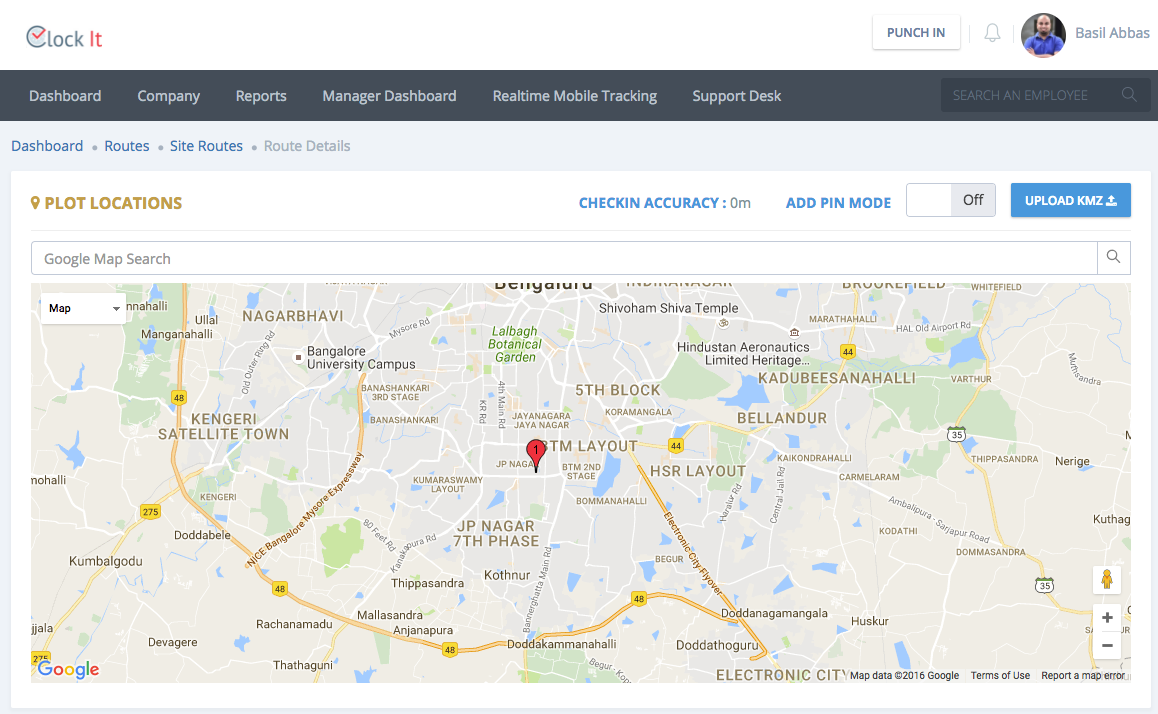
- You can search for a location using the Google Map Search. Note that a pin added after a search does not mean that this pin is added to your route.
- Enable the Add Pin Mode to drop pins where you click. Disabling this will allow you to easily drag and drop the map to navigate to the desired location.
- You can also upload a KMZ file generated by Google to easily add multiple pins.
- As you add pins, it will also be numbered and show up on the list below.
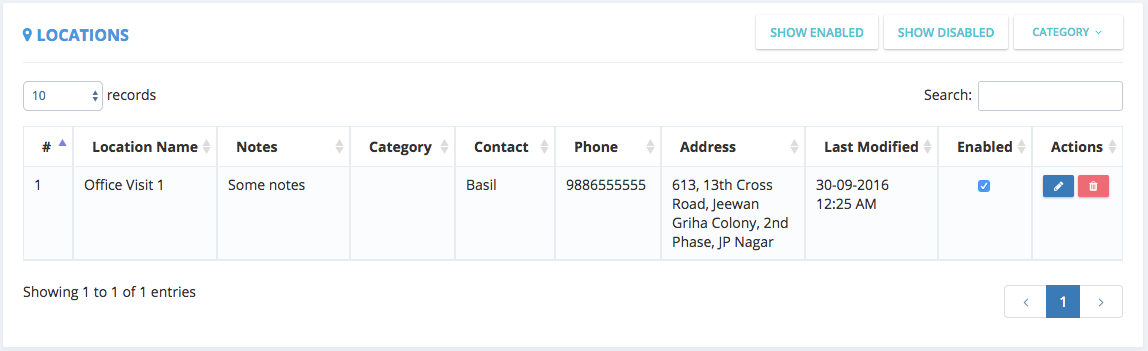
- Use the filters on top of the table to filter the table.
- You can enable and disable pins. Disabled pins do not show up in the mobile app.
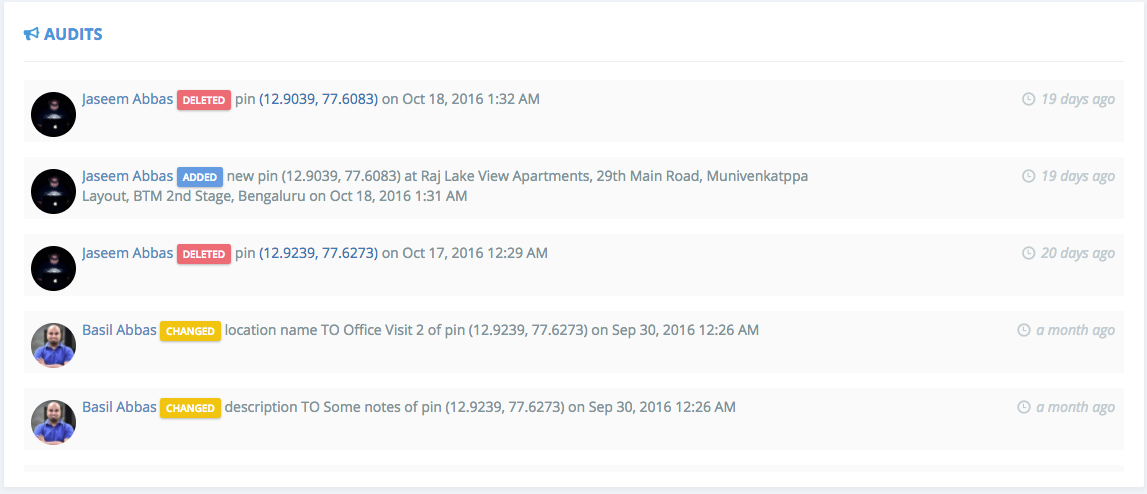
- Note that any actions done on the pins are always audited.
- Once done you can assign the route to an employee from the Employee Profile > Route Planner.